Setting up an automatic bread production line starts with a production brief. Ordering a mixer, divider and oven separately does not establish how they will work together. Before comparing quotations, decide what bread you will make, the output you need and the tasks the project must automate.
Use our Bread Production Line solutions page to discuss an equipment configuration. This article focuses on project setup; for the sequence of operations, read our complete bread production line process guide.
Step 1: write a product and production brief
List the launch products and likely future products separately. Include piece weight, finished dimensions, recipe characteristics, tray or tin format and expected production hours. State whether output means dough pieces entering the line or acceptable finished products leaving it. Buyers and suppliers need the same definition when comparing capacities.
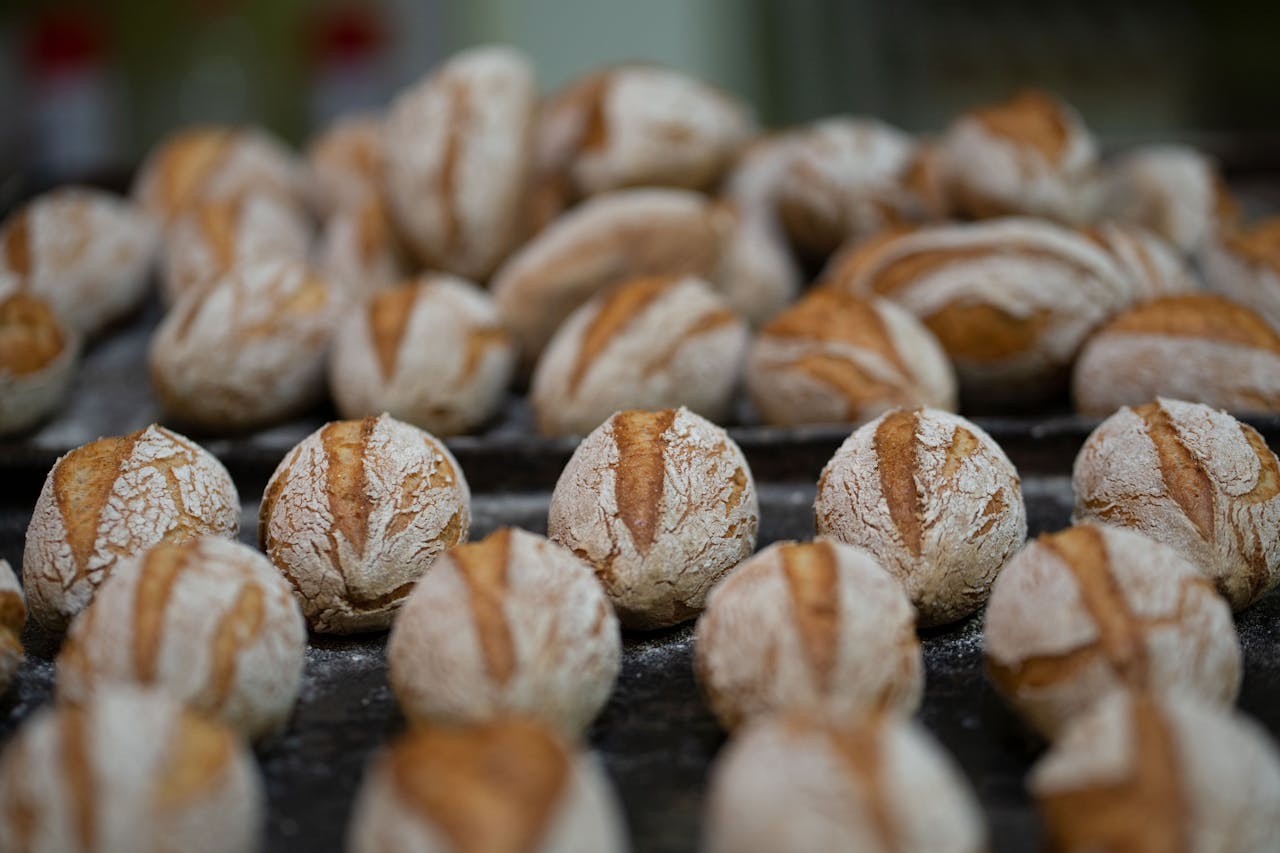
Include photographs or samples of the desired bread. Toast loaves, hamburger buns and baguettes do not necessarily use the same forming equipment or transfer arrangements.
Step 2: translate demand into a working rate
Divide the required daily quantity by the productive hours available, allowing separately for changeovers, cleaning and other planned stops. As a planning example, 8,000 acceptable rolls across eight productive hours requires an average of 1,000 acceptable rolls per hour. This is arithmetic, not a guaranteed machine rating.
Then review peak demand and the production mix. A line that meets the average may still struggle when several products must be completed within a shorter dispatch window.
Step 3: define what “automatic” includes
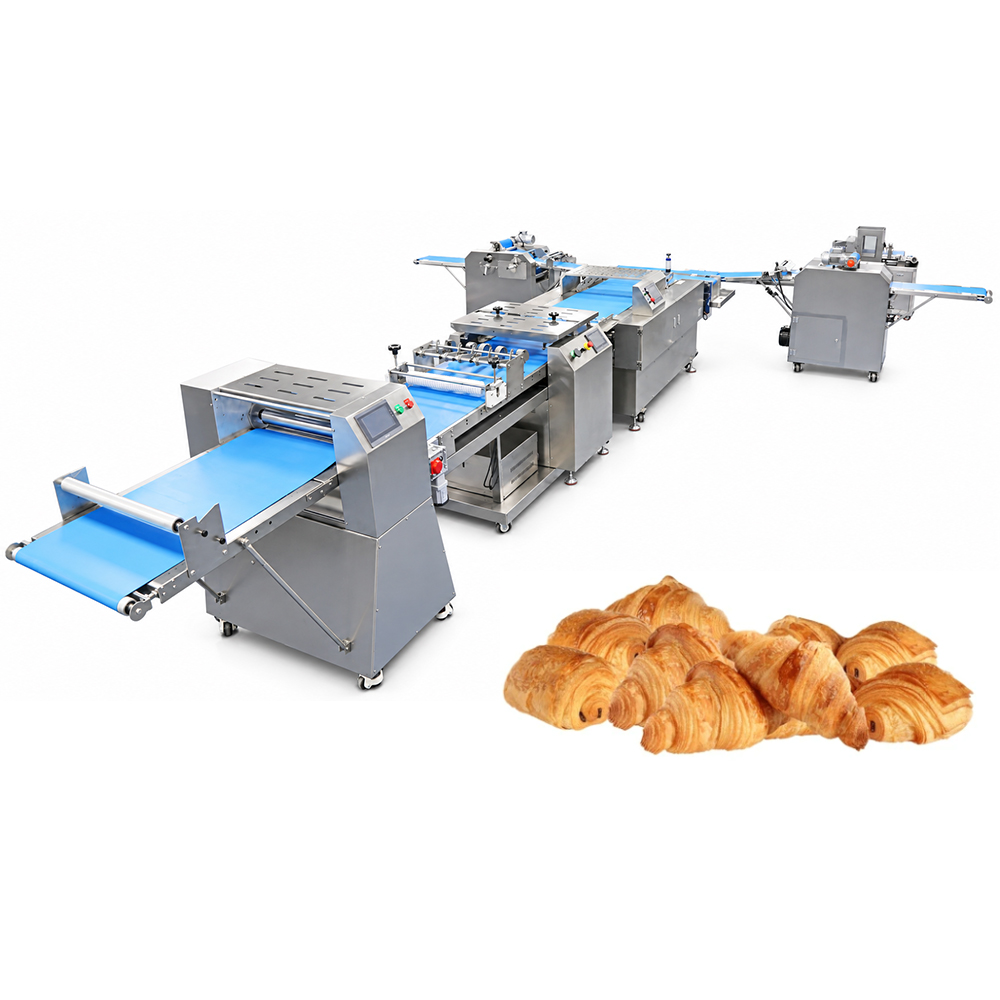
Ask for a task-by-task scope. Ingredient loading, dough discharge, tray loading, rack movement, oven loading, cooling transfer and packaging may remain manual even when the forming section is automated. Identify the operator positions and handoffs on the proposed drawing.
| Interface | Question for the equipment proposal |
|---|---|
| Mixer to divider | Who transfers the dough, and how is batch supply maintained? |
| Forming to proofing | How are pieces or trays loaded and tracked? |
| Proofing to oven | Is the transfer manual, rack-based or continuous? |
| Oven to cooling | What handles discharge and product spacing? |
Step 4: select compatible equipment
Check sustained working rates, product size ranges, transfer heights, belt widths and tray formats. Confirm whether adjustments require different tooling or additional time. Review the working load of the dough mixing equipment against the divider’s demand rather than selecting by bowl volume alone.
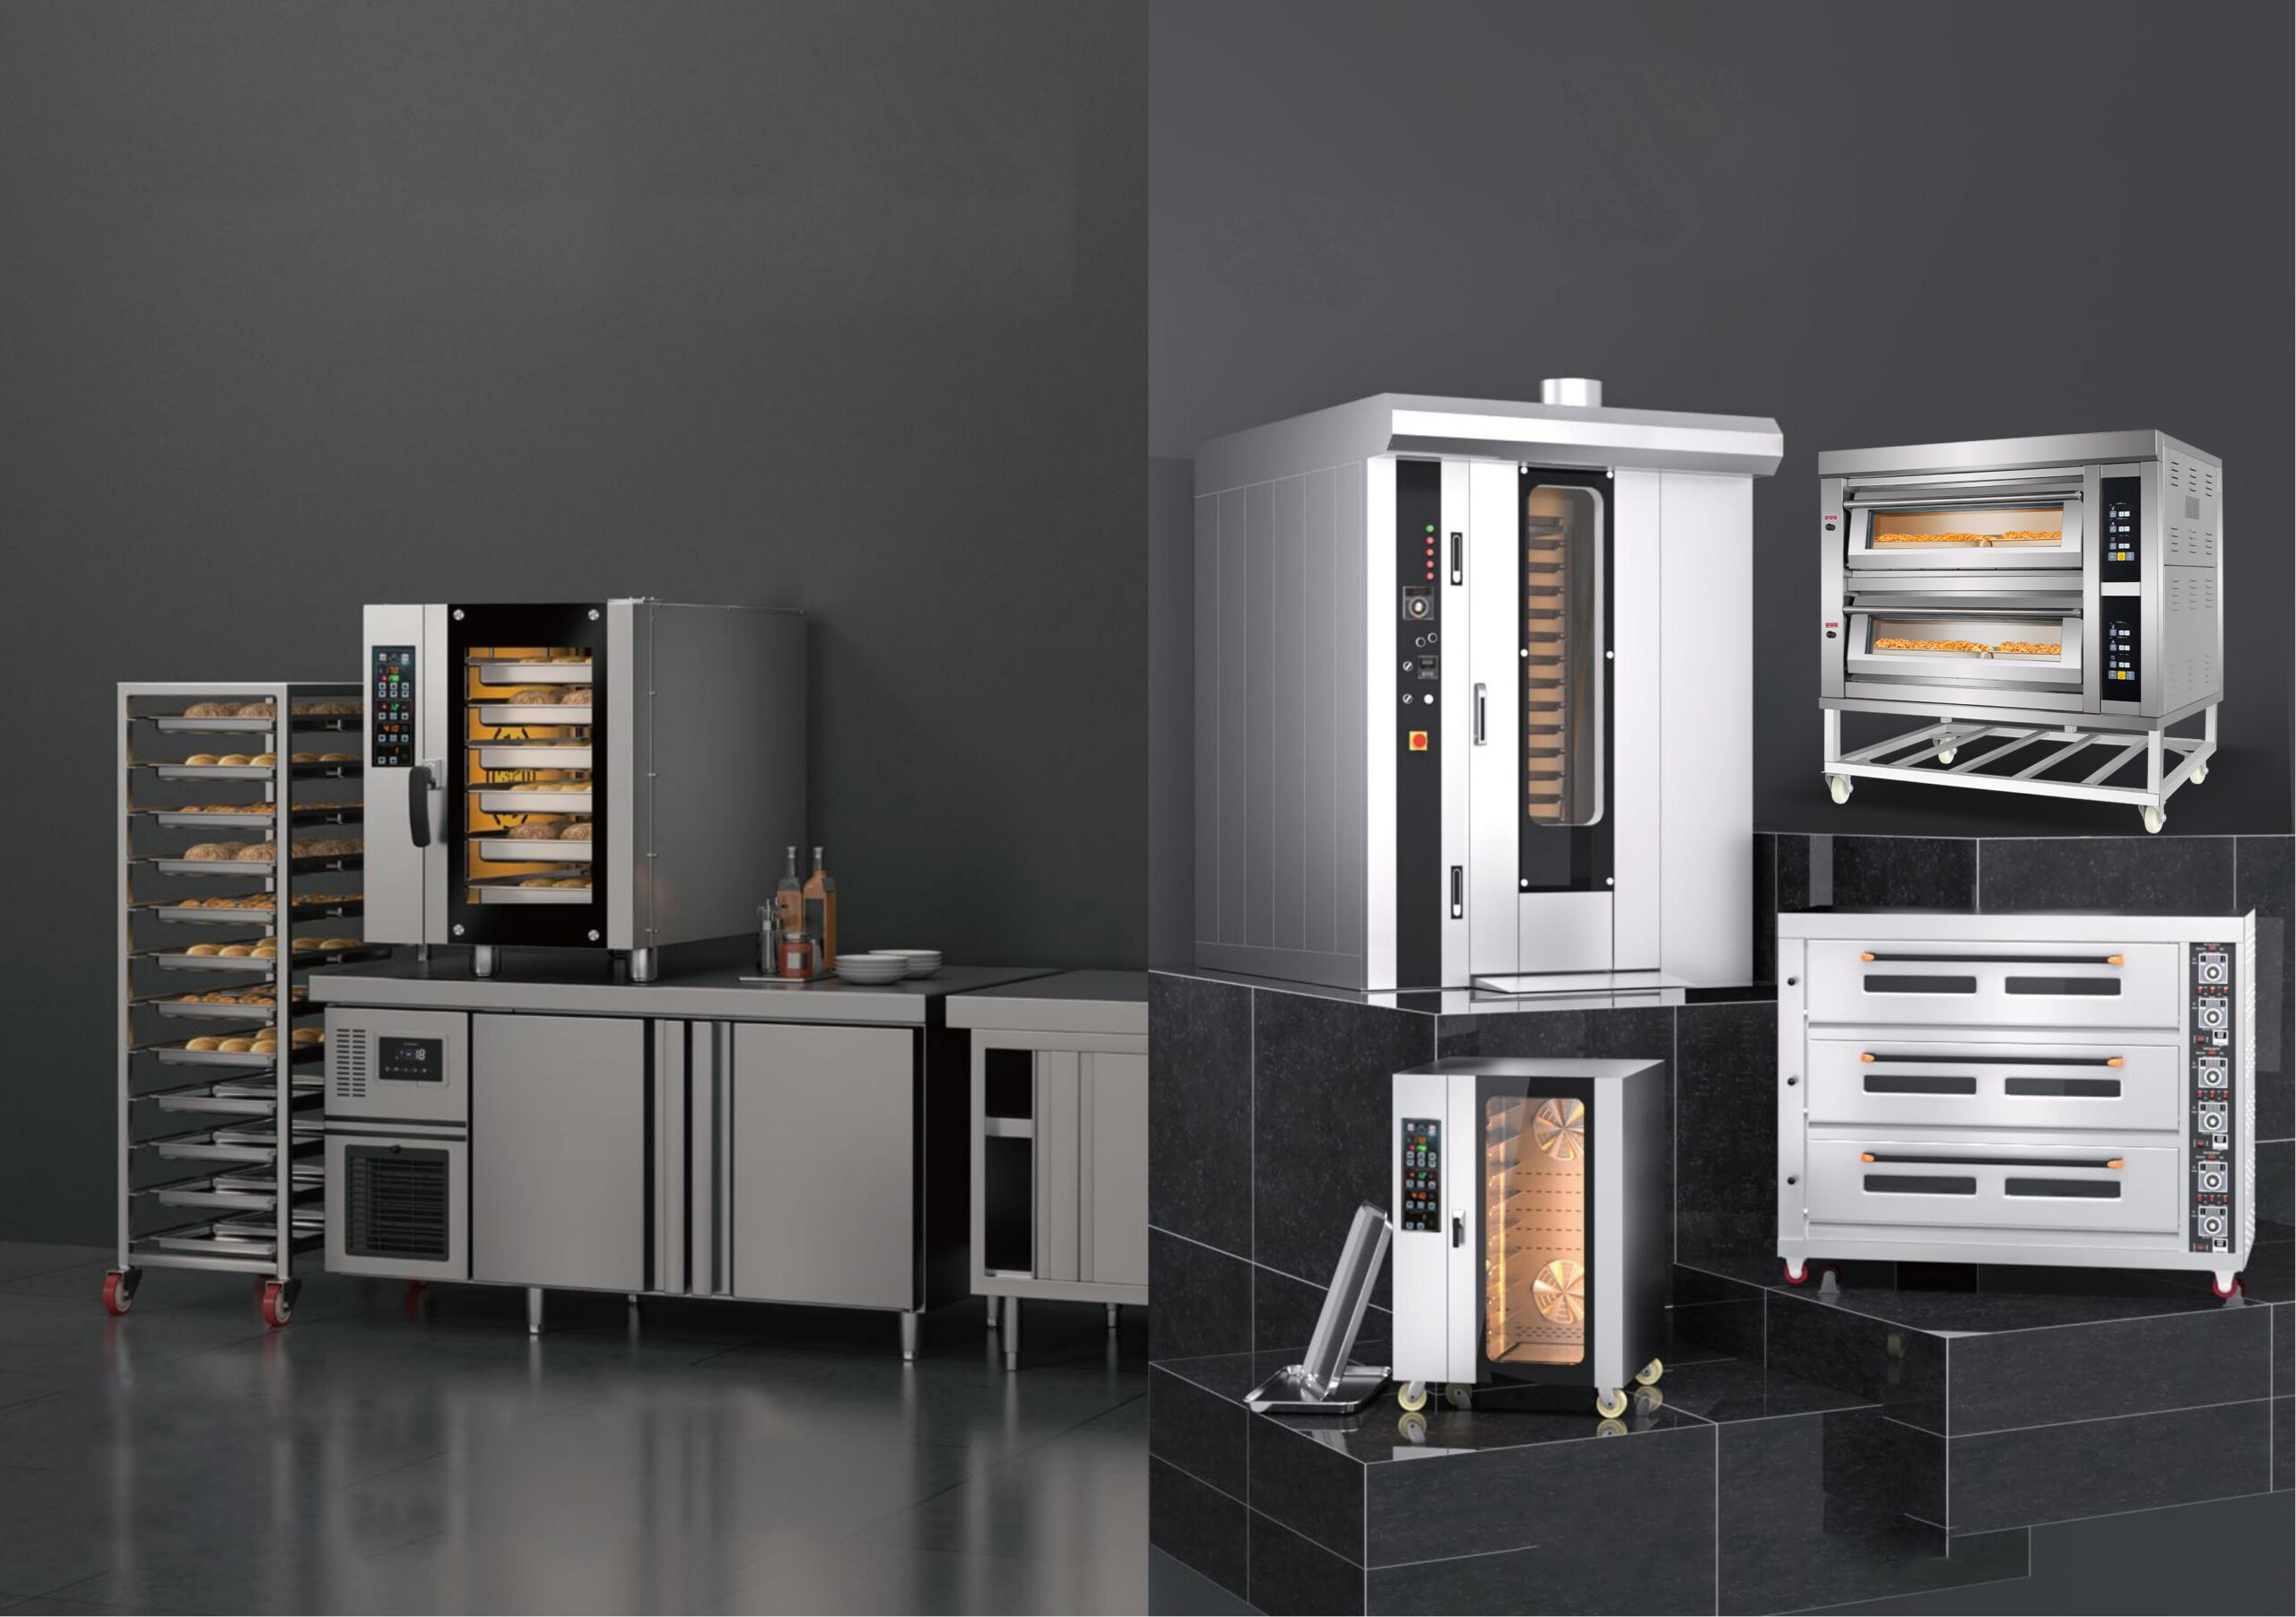
Choose the bakery oven configuration around the recipe, loading method and production schedule. Request the assumptions behind every quoted output figure.
Step 5: approve the layout and utilities
Provide a measured building drawing showing columns, doors, ceiling heights and access routes. Ask for equipment footprints, service access, movement areas and utility connection points. Space for proofing, cooling and rack storage should be visible on the plan.
Confirm voltage, phase, frequency, connected loads, compressed air and fuel requirements where applicable. Have qualified local professionals review the building services, installation and applicable requirements before committing to a final arrangement.
Step 6: agree on trials, delivery and responsibilities
The purchasing scope should identify who supplies conveyors, tooling, controls interfaces, installation work, operator training and spare parts. Discuss recipe trials and confirm what ingredients, trays or product samples will be used. Record the expected product range and how performance will be measured.
Prepare an installation sequence that accounts for access, lifting, positioning and connections. Confirm available documentation and the responsibilities of the buyer, equipment supplier and local contractors.
Step 7: commission the line with agreed acceptance checks
Check product quality and sustained output with the agreed recipe and operating conditions. Record weights, dimensions, stoppages and the settings used. Test normal changeovers and cleaning access, and train operators on the supplied instructions before routine production.
Start with a configuration brief
Send your bread types, target output, piece weights, automation expectations and factory drawing through the Bread Production Line project enquiry. A clear brief helps establish a comparable equipment scope and a realistic discussion of the project.